
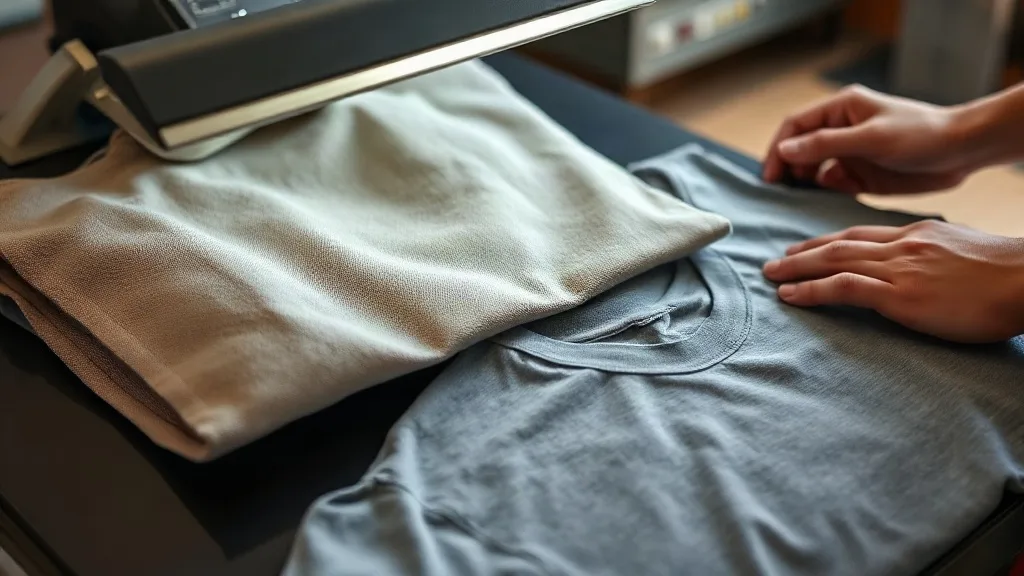
You pull two shirts from the same box, press the same dtf transfers with identical settings, and get two different results. One print sits flat and holds through ten washes. The other cracks along the shoulder seam before the customer even tags it. Most operators blame the press, the powder, or the film. The variable they overlook is often right in their hands: the weave of the garment itself. Fabric construction determines how much surface area the adhesive can grab, how heat travels through the fibers, and how the print flexes when the wearer moves. Understanding weave turns DTF from a guessing game into a repeatable process.
Why Weave Matters More Than Most Operators Realize
dtf transfers rely on a thermoplastic adhesive that melts into the fabric surface. That bond is mechanical, not chemical. The adhesive needs to flow into the tiny valleys between yarns and lock around individual fibers. A tight, smooth weave gives the adhesive a broad, even surface to grip. A loose or highly textured weave creates peaks and valleys that the adhesive cannot fully bridge, so the print sits on top of the fabric rather than becoming part of it. When the garment stretches, those unsupported areas peel first.
Weave also changes how heat moves. Dense fabrics absorb heat slowly and hold it longer, which can over-cure the adhesive if you follow the same timing you use on lighter knits. Open weaves heat fast but lose that heat just as quickly, so the adhesive may never reach full flow. The press settings that work on a 100% cotton jersey will not behave the same way on a canvas tote or a ribbed cuff.
Reading Fabric Construction Before You Press
Jersey and Interlock Knits
These are the workhorses of custom apparel, and they are usually the most forgiving. Jersey has a fine, smooth face that accepts adhesive well. Interlock is slightly denser and holds its shape, which helps prevent the print from distorting during the press. On these fabrics, standard DTF settings tend to work, but watch for stretch recovery. A jersey that has been washed and dried repeatedly may have a slightly fuzzy surface from fiber breakage, and that fuzz can interfere with adhesion. A quick lint roll before pressing makes a measurable difference.
Ribbed Knits and Cuffs
Ribbing is built to stretch, and that is exactly why prints fail on it. The raised ribs create a surface that the adhesive cannot fully contact, and the constant flexing pulls at the print edges. If you must apply a transfer to a ribbed cuff or collar, use a smaller design that stays within a single rib section, and consider a lower temperature with a longer dwell to let the adhesive flow into the recesses. Even then, expect reduced durability compared to a flat surface.
Fleece and Terry Cloth
Fleece is a special case because the surface is brushed, not woven flat. The loose fibers create a soft, uneven face that adhesive struggles to penetrate. Many operators get acceptable results by pre-pressing the garment for a few seconds to flatten the fibers, then applying the transfer while the fabric is still warm. The pre-press is not just about removing moisture; it changes the surface geometry long enough for the adhesive to bond. On heavy fleece, a slightly higher pressure helps push the adhesive past the surface fuzz.
Canvas, Twill, and Woven Cottons
These fabrics have a visible, structured weave with deep valleys between yarns. The adhesive can bridge small gaps, but on a coarse canvas the gaps are too wide. The result is a print that looks fine initially but develops pinholes or lifts at the edges after washing because the adhesive never reached the base of the weave. For these materials, a higher pressure and a slightly longer press cycle help, and a finer-point transfer design with more solid coverage tends to perform better than delicate line work.
Matching Transfer Type to Fabric Texture
Not every DTF transfer is built the same way. Standard transfers have a uniform adhesive layer that works well on smooth knits. For textured fabrics, some suppliers offer transfers with a heavier powder application or a more aggressive adhesive formulation. If you regularly print on fleece, canvas, or ribbed garments, it is worth asking your supplier which transfer specification suits those substrates. The difference in cost is usually small compared to the cost of reprints and returns.
Design also plays a role. Large, solid blocks of color put more stress on the adhesive bond than fine lines and small graphics. On a textured fabric, a design with a lot of open space and thin lines has less contact area per square inch, which means each edge is more likely to lift. If a customer insists on a large solid design for a coarse fabric, consider whether a different decoration method might serve them better, or set expectations about durability upfront.
Press Adjustments That Account for Weave
The standard advice is to follow the transfer supplier's temperature, pressure, and time recommendations. That is the right starting point, but it assumes a smooth, medium-weight knit. When you move to a different weave, adjust one variable at a time and keep notes. A simple log with fabric type, transfer batch, temperature, pressure, dwell time, and peel result will quickly reveal patterns. Most shops that struggle with DTF consistency are not missing a secret setting; they are missing a record of what they already tried.
Pressure is the variable most often ignored. On a textured fabric, low pressure leaves the adhesive sitting on the peaks. Increasing pressure forces it into the valleys. But too much pressure on a stretchy knit can distort the fabric and cause the print to wrinkle or shift during the press. The goal is even contact, not maximum force. A pressure that feels firm but does not leave a visible impression on the fabric is usually in the right range.
When the Fabric Itself Is the Problem
Some garments are simply not good candidates for DTF, and recognizing that early saves money. Highly textured fabrics with deep pile, heavy ribbing, or a water-repellent finish will always be difficult. Water-repellent finishes are particularly troublesome because they prevent the adhesive from wetting out the surface. If a garment has a stain-resistant or moisture-wicking coating, test a small area before committing to a full run. A transfer that peels after one wash is worse than a polite conversation with the customer about alternative decoration options.
For shops that regularly handle a wide range of garments, building a small reference library of fabric swatches with notes on how each one performed is one of the highest-return investments you can make. It turns each job into a data point instead of a fresh experiment.
Frequently Asked Questions
Can I use the same press settings for every fabric?
No. The same dtf transfers near me may behave differently on a jersey knit versus a canvas tote. Start with the supplier's recommendation, then adjust temperature, pressure, or dwell time based on the weave. Keep a log so you can repeat what works.
Why do prints on ribbed cuffs fail so often?
Ribbing is designed to stretch, and its raised surface prevents full adhesive contact. The constant flexing pulls at the print edges. Use smaller designs, lower temperature with longer dwell, and set realistic durability expectations.
Does fabric color affect DTF adhesion?
Color itself does not change adhesion, but the dyes and finishes used on dark fabrics sometimes include coatings that interfere with bonding. A pre-press and a test wash are always wise on unfamiliar dark garments.
How can I tell if a fabric is too textured for DTF?
Run your fingers across the surface. If you feel deep valleys or a fuzzy pile that the adhesive cannot bridge, the fabric is a poor candidate. A quick test press on a scrap piece will confirm it before you commit to a full order.