
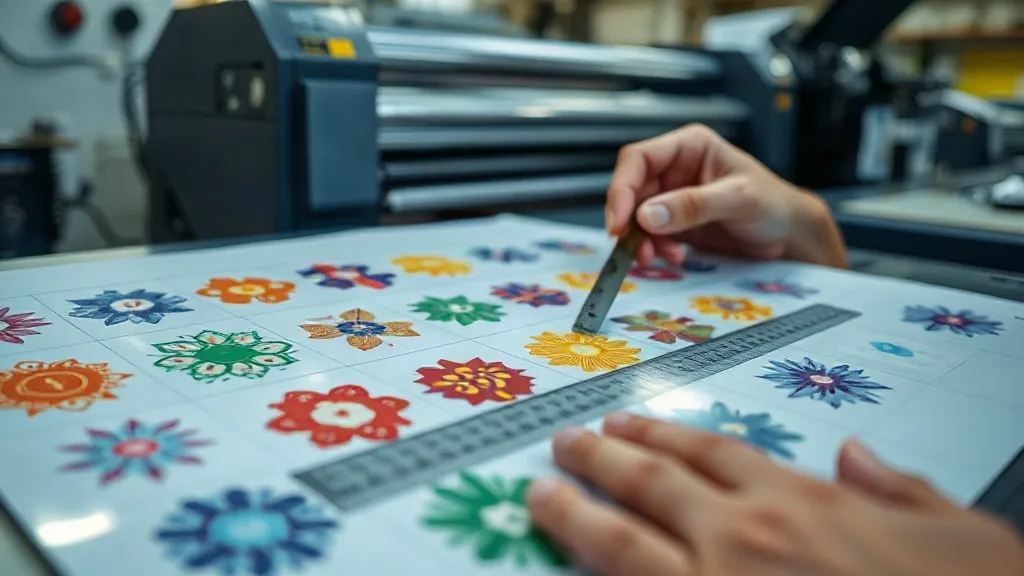
You have probably heard that a DTF Gangsheet is a game-changer for small print shops. It promises efficiency, less waste, and higher profits. But what if I told you that even seasoned operators lose money on every sheet due to a few hidden mistakes? After reviewing hundreds of gang sheets from shops like yours, I have seen the same five errors over and over. These are not rookie mistakes; they are subtle traps that creep in after the first few months. In this article, I will show you exactly what they are, how they silently drain your margins, and the simple adjustments that put money back in your pocket.
Mistake 1: Ignoring the 1/8-Inch Safety Margin
It is tempting to squeeze every inch of film. But placing artwork too close to the edge or to another design invites disaster. The DTF printer needs a clean border to grip the film, and the powder shaker needs space to work. When images are packed too tightly, you risk:
- Film jams that ruin the entire sheet.
- Powder overspray contaminating neighboring designs.
- Cutting errors that force you to discard good prints.
I learned this the hard way when a rushed order of 50 shirts turned into a 3-hour reprint because I ignored the margin. The fix is simple: always leave at least 1/8 inch (3 mm) between designs and 1/4 inch (6 mm) from the film edge. Yes, you lose a little space, but you gain reliability.
Mistake 2: Using Low-Resolution Images
DTF printing is unforgiving with low-res files. A 72 DPI image might look fine on screen, but when printed at 12 inches wide, it becomes a pixelated mess. The rule is to use images at 300 DPI at the final print size. If you upscale a low-res image, you are just amplifying the blur. Invest in good source files or use AI upscaling tools cautiously. I keep a library of high-res graphics and always check the resolution before nesting.
Mistake 3: Overlooking Color Management
Colors can shift dramatically from screen to film. Without proper ICC profiles and printer settings, your vibrant red might turn into a dull brick. Always calibrate your monitor, use the correct DTF ICC profile for your printer and ink, and do a test print on scrap film. I also recommend keeping a color swatch book of your most-used colors to compare against the printed output.
Mistake 4: Skipping the Pre-Press Checklist
Even the most experienced operators forget steps when rushed. A simple pre-press checklist prevents costly errors. Here is mine:
- Check image resolution and dimensions.
- Ensure all text is converted to outlines.
- Verify color mode is CMYK (or RGB if your RIP requires it).
- Add cut lines if using a cutter.
- Double-check spacing and margins.
It takes two minutes but saves hours of rework.
Mistake 5: Neglecting Film and Powder Storage
DTF film and powder are sensitive to humidity and light. Storing them improperly leads to poor adhesion, clogs, and inconsistent results. Keep film in a cool, dry place away from direct sunlight. Seal powder containers tightly and use a dehumidifier if needed. I learned this after a batch of film absorbed moisture and caused powder to clump, ruining several gang sheets.
Frequently Asked Questions
How do I calculate the right spacing for my DTF Gangsheet?
Use 1/8 inch between designs and 1/4 inch from edges. This allows for cutting and prevents powder contamination.
Can I use the same DTF Gangsheet for different fabric colors?
Yes, but white ink opacity may need adjustment. Test on similar fabrics first.
What is the best way to store DTF film?
Keep it flat, in a cool dry place, away from sunlight and humidity.
How often should I calibrate my DTF printer?
At least monthly, or whenever you change ink or film brands.