
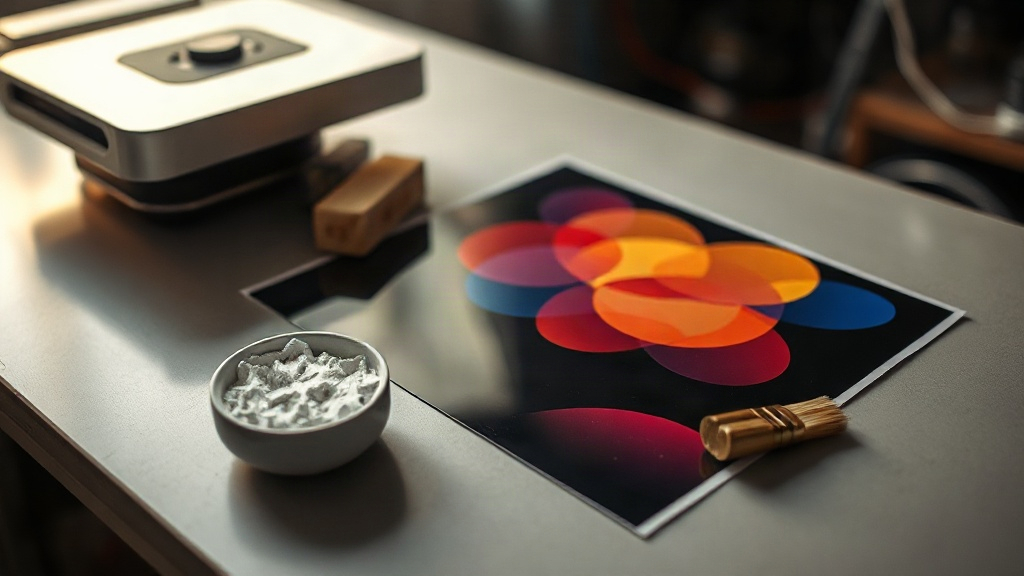
Most people who try DTF transfer printing for the first time do everything right on paper and still end up with a print that cracks after two washes or peels off in one corner. That is not bad luck. It is almost always one of four things: the film was printed on the wrong side, the powder was cured unevenly, the press pressure was off, or the fabric was not prepared. This guide walks through the whole process from file to finished shirt, with the details that actually decide whether a print survives.
What DTF Transfer Printing Actually Is
DTF stands for direct to film. Instead of printing straight onto a garment, you print a mirrored image onto a special PET film, cover the wet ink with hot melt adhesive powder, cure the powder, and then heat press the finished transfer onto fabric.
That extra step is the whole point. Because the transfer is printed flat and then applied with heat, DTF works on cotton, polyester, blends, nylon, canvas, and even some leather-look materials. Screen printing struggles with small detail on dark garments, and DTG needs a pre-treatment that many home setups cannot handle consistently. DTF sidesteps both problems, which is why it became the default method for small shops doing one-off shirts and short runs.
Where It Fits Compared to Other Methods
- Screen printing: cheapest per unit at high volume, painful at low volume because of setup time.
- DTG: great on 100% cotton, weaker on synthetics, needs pre-treatment.
- Vinyl: fast for single-color text, impractical for full-color photographic artwork.
- DTF: full color, no weeding, no pre-treatment, works across fabric types.
The tradeoff is that DTF transfers have a slightly thicker hand feel than a screen print, and a poorly made transfer will feel like a plastic patch. Handle the powder and cure steps properly and that difference mostly disappears.
The Supplies You Need Before Your First Print
You do not need a professional shop to start. You do need the right consumables, because substituting the wrong ones is where most failures begin.
Printer and Inks
Most beginners use a converted inkjet printer with pigment inks, often an Epson model with a modified print head setup, or a dedicated DTF printer. Pigment ink matters here. Dye-based inks do not sit on the film the way pigment does and will not bond reliably with the powder. You also need white ink in the lineup, because a white underbase is what lets a full-color design show up on a black shirt.
Film
DTF film comes in two common types: cold peel and hot peel. Cold peel means you let the transfer cool completely before removing the carrier sheet. Hot peel means you pull it while it is still warm. Hot peel is faster for production work, cold peel tends to give a slightly softer finish. Both work; what matters is that you follow the film's instructions instead of guessing.
Adhesive Powder
The powder is the glue. It comes in fine and coarse grades, and the choice depends on your design. Fine powder gives sharper edges and a smoother surface, which suits detailed artwork. Coarse powder lays down a heavier adhesive layer and can help on textured fabrics, but it also adds more bulk. Most shops keep both on the shelf.
A Heat Press
A clamshell or swing-away press with adjustable temperature, pressure, and a timer is essential. An iron will not do it. You cannot hold consistent pressure across a full sheet with an iron, and inconsistent pressure is the single most common cause of transfers that peel at the edges.
Step by Step: From File to Finished Garment
1. Prepare the Artwork
Mirror the image before printing. Every DTF transfer is printed backwards because it gets flipped when pressed. If your text reads correctly on the film, it will read backwards on the shirt.
Set up a white underbase layer beneath the color layers. Without it, colors printed on dark fabric will look muddy or nearly invisible.
2. Print the Film
Print on the coated side of the film, not the matte backing side. If your print looks faded, streaky, or washes off with a light rub, you printed on the wrong side. Run a small test strip before committing a full sheet.
3. Apply the Powder
Pour powder over the wet print and shake off the excess. You want an even, thin coating that sticks only where there is ink. Tilt the film and let the loose powder fall back into the container so you can reuse it.
If powder clumps in one area, tap the edge of the film gently. Do not blow on it; moisture from your breath causes clumping.
4. Cure the Powder
Heat the powdered film until the adhesive melts into a glossy, gel-like layer. The exact temperature and time depend on your powder, but most products sit in the 160 to 170 degrees Celsius range for a short cure. Watch the film rather than trusting the clock alone. When the powder turns from a matte white dust into a shiny film, it is done.
Under-cured powder stays gritty and will not bond. Over-cured film can warp, and the carrier sheet may become difficult to peel.
5. Press Onto the Garment
Pre-press the shirt for a few seconds to drive out moisture. Trapped moisture turns to steam under the transfer and causes bubbles and poor adhesion.
Place the transfer, powder side down, and press with medium to firm pressure. Typical settings fall around 160 degrees Celsius for 10 to 15 seconds, but always confirm against the film and powder manufacturer's data, since formulations vary.
6. Peel and Finish
Peel according to your film type, hot or cold. Then press the finished print again for a few seconds with a protective sheet over it. That second press smooths the surface and improves wash durability noticeably.
Common Problems and What Causes Them
- Print peels after washing: usually under-cured powder, low press pressure, or pressing over a seam.
- Cracking along the design: too much powder, too thick an ink layer, or stretching the garment while the print is still hot.
- Faded colors: missing or too-thin white underbase, or printing on the wrong side of the film.
- Blurry edges: coarse powder on fine detail, or too much pressure spreading the ink.
- Bubbles under the transfer: moisture in the fabric, fixed by pre-pressing longer.
Keep a notebook of settings for every film and powder combination you use. Small differences between brands add up, and a written record saves you from repeating the same failed test twice.
Washing and Care Tips to Pass On to Customers
Tell buyers to wash inside out in cold water and tumble dry low, or hang dry. Avoid fabric softener and direct ironing on the print. A well-made DTF transfer handled this way will typically outlast the garment itself, while a poorly made one can fail within a handful of washes. The difference is in your process, not the fabric.
Frequently Asked Questions
Can I use DTF transfers on 100% polyester?
Yes, and this is one of the biggest advantages of the method. Polyester, cotton, blends, and many synthetic fabrics all accept DTF transfers. Just lower your press temperature slightly on heat-sensitive synthetics and test on a scrap piece first, since some polyesters can scorch or shrink.
How long do DTF transfers last on a shirt?
With proper curing, correct press settings, and cold-water washing inside out, most transfers hold up for dozens of wash cycles. Longevity depends far more on your powder cure and press pressure than on the film brand itself.
Do I need a special printer to start with DTF?
You can begin with a converted inkjet printer running pigment inks and white ink, or buy a purpose-built DTF printer. The converted route is cheaper to enter but requires more maintenance and careful ink management. A dedicated printer costs more upfront and is more consistent day to day.
Why does my DTF powder stick to the whole film?
That usually means the film was printed on the wrong side, so ink is sitting on the uncoated surface and spreading. Check your film orientation before printing. If the powder sticks everywhere even on a correctly printed sheet, your ink coverage may be too heavy.
How do I store unused DTF transfers?
Keep them flat, in a sealed bag, away from humidity and direct sunlight. Moisture is the main enemy. A transfer that has absorbed humidity can bubble during pressing, so give it a short pre-press or store it with a desiccant packet.